

Many homes and organizations today utilize the practice of connecting many devices to a single internet connection. It enables concurrent internet access for various devices, including computers, tablets, smartphones, and smart home gadgets. Installing an Access Point allows you to place more distance between your devices without compromising your network’s stability. You may connect it to your computer with a broadband modem and then use it to give your other machines a faster Internet connection.
Step 1: Identify Your Internet Connection Type
Whether your internet connection is wired or wireless is an important factor in successfully setting up multiple devices. Wired connections typically include an Ethernet cable while wireless connections are Wi-Fi enabled. When attempting to set up multiple devices, understanding the type of connection available will give you an upper hand by avoiding potential problems during setup because each device may need different setup steps depending on the connection type. The information on this site can assist you in comparing the prices, internet speeds, and types of service offered by different internet service providers, helping you to make a wise choice. Depending on the service provider you choose, you may be able to access DSL, cable, and fiber services. You’ll likely be presented with several different packages within each type of service; select the one that suits your needs best.
Step 2: Activate The Router
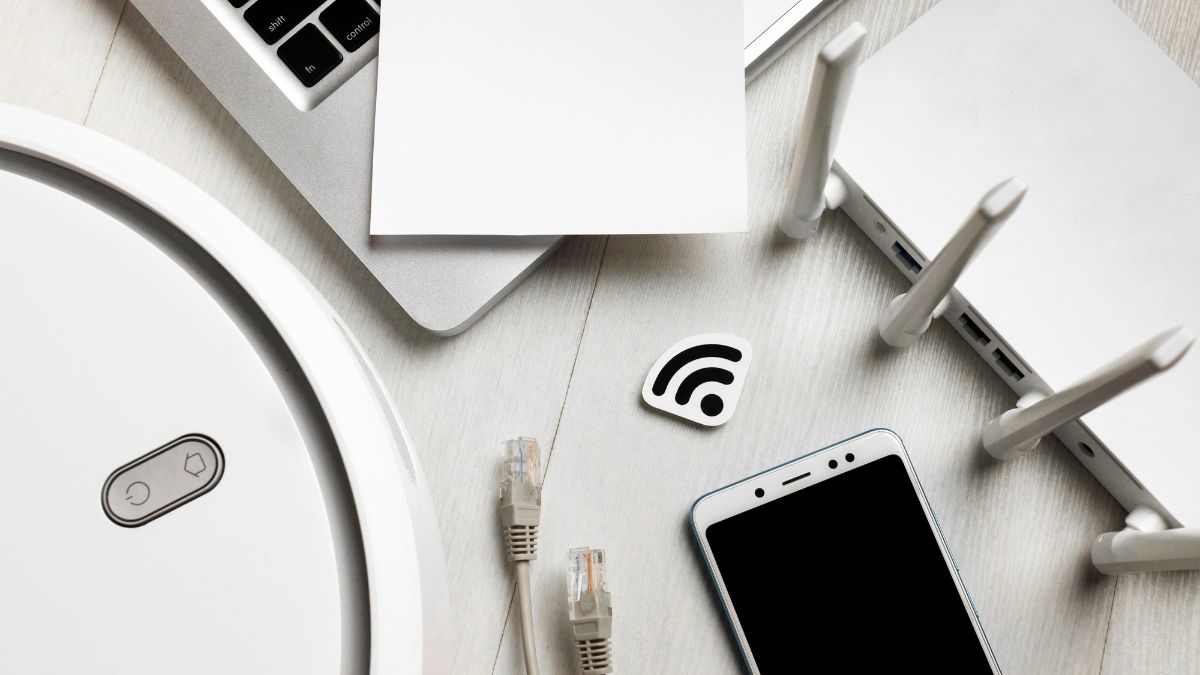
With a wired connection like Ethernet or DSL, a router is required to share an internet connection across several devices. A router is a device that establishes a local network via an internet connection, allowing numerous devices to access the web simultaneously. It is how you set up a router:
- Use an Ethernet cable to link the router to the modem.
- Make that the router is plugged in and switched on.
- To use the router’s Internet connection, either plug your devices into Ethernet cables or turn on Wi-Fi on each one.
Wireless connections like Wi-Fi and cellular data can eliminate the requirement for a router in some situations. You can bypass this and connect your gadgets wirelessly to the web instead.
Step 3: Adjust Your Router’s Settings
After you’ve installed the router, you’ll need to adjust its settings so that all of your gadgets can communicate with it and access the internet. Here are the measures to take:
- Enter the router’s IP address into a web browser on any computer or mobile device to gain access to the router’s administrative interface. Typically, the IP address is listed in the router’s user manual or written on the bottom of the device.
- The username and password for the router can be found in the user manual or at the bottom of the device. The default username and passwords are often admin and password if you have never changed them.
- To set up a wireless network and name it with an SSID and password, go into the Wireless or Wi-Fi settings.
- Select a security protocol, such as WPA2, from the Security or Encryption settings.
- Remember to hit Save before leaving the settings menu.
Step 4: Link Up Your Gadgets With The Web
After the router has been installed and configured, the following procedures should be followed to link your devices to the web:
- Check for available networks by navigating each device’s Wi-Fi or Network settings.
- Please select the network whose name you specified in the router’s configuration page, and then enter the password you set.
- Lastly, connect to the network.
With so many devices needing Internet access, the home network you must need a step-by-step guide to connect them and to stay within your network. Using a single internet connection for several devices requires extra precautions to prevent hacking. A strong password is essential for securing your wireless network from intrusion. For added security against malware, ensure that your computers and mobile devices are all running the most recent versions of antivirus software.


