

Simply put, a robot is a programmed electronic device designed to make decisions without human intervention. Building your own for professional and personal use could simplify tasks while boosting your skill set and tech confidence.
It doesn’t matter if you’re an adult or child; creating a device can be fun while providing an opportunity to improve your creativity and critical thinking. If you’re eager to get started, read the following advice on how to build a robot from scratch.
Establish a Robot’s Design and Purpose
The first step you must take is to establish a robot’s design and purpose. For instance, you could create a cleaning robot, a cognitive robot, or an amusing robot who loves to dance. The options are endless. A clear purpose for a robot will aid the design, as you can identify the sensors, processors, and actuators you’ll need to get started.
Select a Microcontroller
Next, you’ll need to introduce the best brain and processor for your robot design. Common microcontrollers include Raspberry Pi and Arduino, which are great options, but you can choose from many alternatives. It’s vital to select the correct microcontroller for your robot’s needs and your goals for it. For example, you must pick from 8bit, 16bit, or 32bit. Also, you’ll need to consider the operating voltage and processor and identify how much memory is needed.
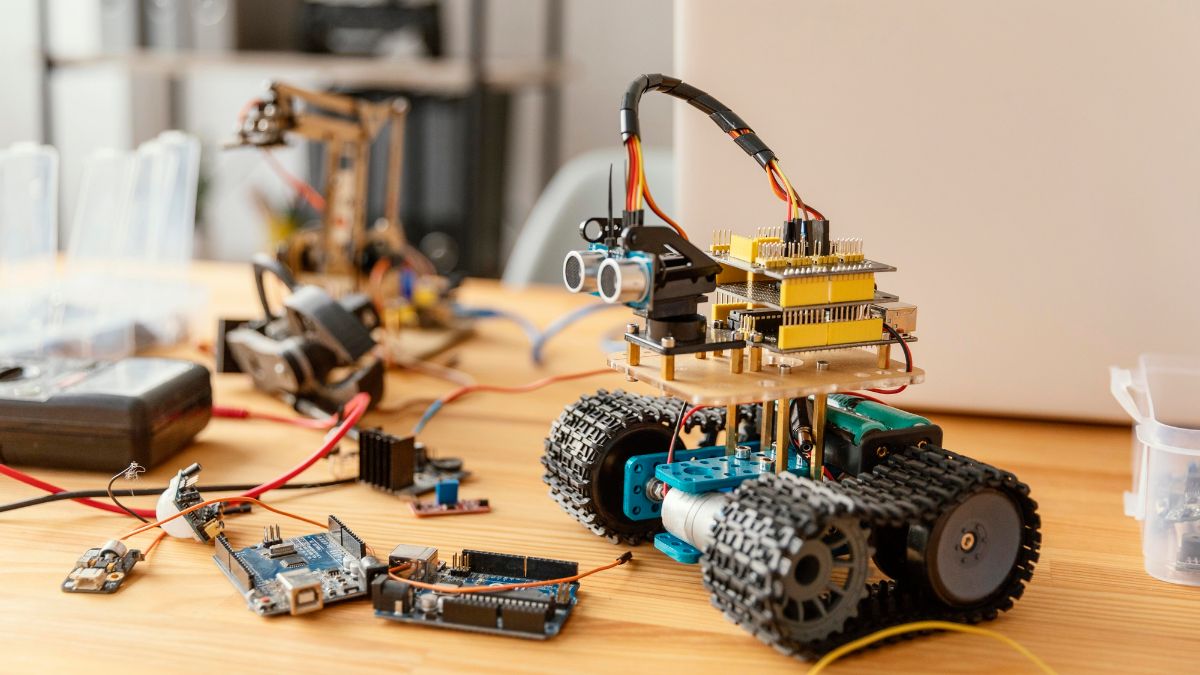
Buy Components to Match the Robot’s Features
Once you’ve identified the best microcontroller for your robot, turn attention toward its various features. As mentioned earlier, you must carefully consider a robot’s purpose and features to determine the components it’ll need. For instance, do you want to add an infrared sensor, distance sensor, or color sensor? It will shape the motors, sensors, batteries, and power sources you choose.
Assemble the Parts
Once you’ve got all the parts you’ll need, you must connect them to create your robot. If you’re designing a simple robot, a DC motor, stepper motor, or servo motor will suffice, as you’ll find it easy to manage and connect the actuators to the sensors.
Connect the Microcontroller to a Computer
The fun can start once the parts are connected, as you can plug the microcontroller into a computer. First, you’ll need to install the microcontroller software. For instance, if you’re using an Arduino board, you’ll need to install Arduino IDE before following the instructions on its website.
Start Testing Your Prototype
Testing your robot out for the first time is exciting, as your hard work and effort will hopefully pay off. The programming stage starts with the breadboard, which you’ll use to test the robot’s sensors and motors and run any essential code. The testing process will help you identify if the components are working efficiently and if you need to install additional parts, such as extra sensors.
Mount the Robot
If you’re happy with your robot, mount it onto a high-quality robot chassis, which you can often source for an affordable price. If you want to build the entire robot from scratch, you can always try to build a chassis yourself.


