

Are you here searching on the guide on how to thread a juki sewing machine? If so, then you have landed at the right place. In this piece of work, we are going to outline the steps precisely.
Though, the way to thread a sewing machine depends on the type of machine you are using, there are general guidelines for threading a sewing machine that we will examine today. If things are the way they are, either you have bought a used juki sewing machine, or the new one you bought contains instructions that are thicker than your lexicon, and you need the lay-out process that is straightforward. Right, we should find a reasonable pace.
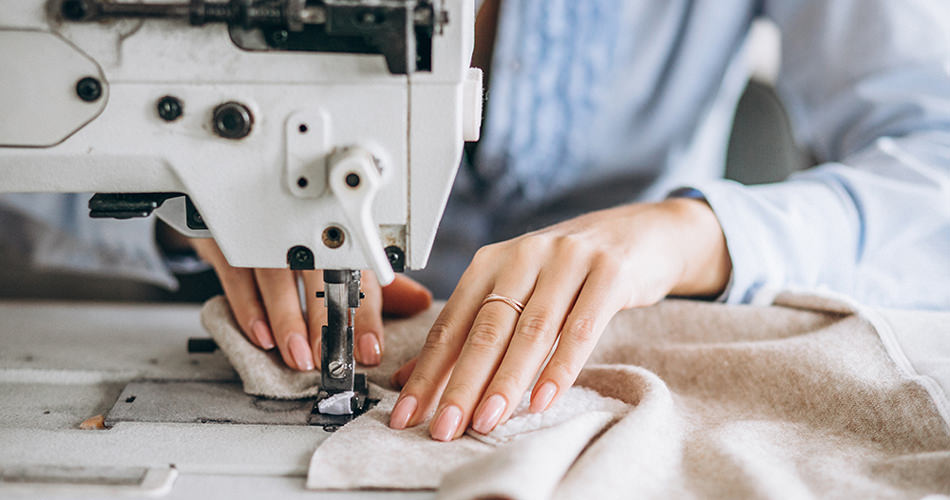
Yes, the Juki line sewing machines can be used to sew basic household items on many items of clothing in an industrial plant. Likewise, legitimate threading is required with every sewing machine so that the machine creates firm, correct and even lines. Although Juki sewing machines have numerous parts for the thread to pass through, the machine must be threaded accurately to ensure its proper activity.
The step-by-step guide for threading a juki sewing machine
- The first step is to locate the presser foot and then make sure that it is in an up position.
- Next, take a spool of thread and then carefully place it on your spool holder. Pull this from the holder over the top of the machine. It is mandatory that you definitely use a thread guide and add the thread there.
- The next step is to locate the tension component. If you don’t know where it is, check your basic diagram you should have gotten with your purchase. Bring the thread to this component and slide the thread into the middle of the two small metal plates on the system.
- The area that is raised and lowered when the hand wheel is turned is called the “take-up system”. You will see a little lever here; Put your thread through. Depending on the machine you have, you either have to run the thread through a small gap or just slide it into the lever.
- The thread should now run down the left side of the lever. Currently thread any thread guides that you have forgotten. You should run down to the thread needle itself.
- At the moment thread the needle by holding it with your left hand and gradually turning the thread wheel with your right.
What else?
It’s ideal to note that if you see a thread out of place, you’ve probably missed one of the thread guides. Therefore, check this again. Now you know the screws and nuts for threading a sewing machine and can use your skills effectively.
Let me also give you a few tips that will make the process a little easier for you.
Before you start; Check that your needles are sharp, properly positioned, and working by testing them on some unusable material. Also, make sure the machine has been properly cleaned to keep avoid unnecessary stains. Additionally, Oil your machine to increase its functionality.
As you begin in your sewing venture, start with the lower pace until you have mastered how to thread your Juki machine and more importantly always choose the suitable thread for the fabrics that you want to sew
Conclusion
Even though I tried to make this whole process a little easier for those of you who are not too familiar with JUKI sewing machines, you might your juki model slightly different. So, all steps might not be applicable on your model.
You can read more expert best sewing machine guide on SewingPick blog.


