

Wooden fencing is the most common fence built throughout history, due to the availability of materials and ease of handling. Lately, this type of fence is increasingly seen around yards in Oklahoma. There are many reasons for this, and you can find out more about the benefits of fencing your property on this link.
You can opt to build a wooden fence in your yard for many reasons. The primary goal of fence installation is to enclose your property and to increase security, privacy, or security. If you have kids or mischievous pets, you’ll definitely need this protection.
An attractive fence will undoubtedly attract the eye. Still, it will also protect you from curious passers-by who would like to check out your yard. Also, a well-designed wooden fence will increase the value of your property located in Oklahoma.
Traditional Wooden Fences
To give your property a complete look, it needs proper fencing. Wooden barriers are characterized by variety and adaptability to each of the building styles. They probably first comes to mind when you think of the unique look of your property.
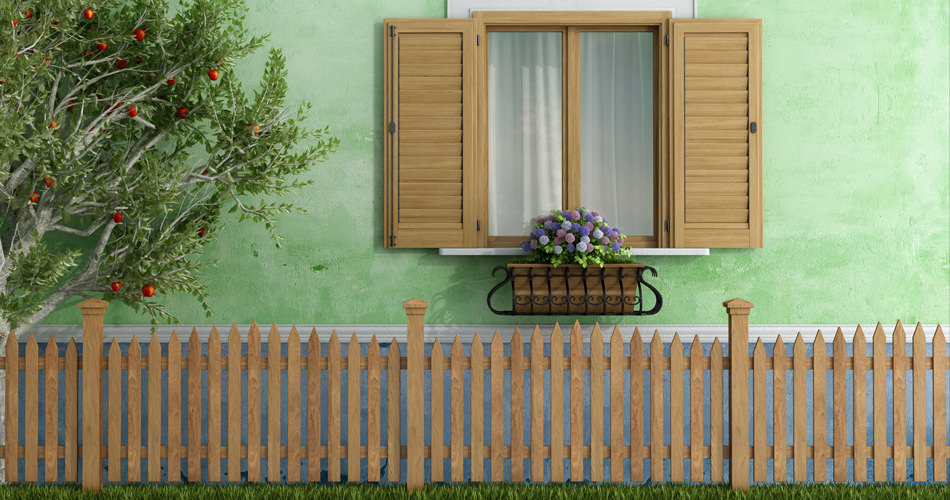
Densely packed timber panels or pickets protect from snooping eyes, but also animals, noise, and dust from the street. You can easily fit these fences into all architectural styles, but keep in mind the layout, height, picket size, and many other things.
DIY fencing offers greater flexibility and choice of materials. Panels offer great discretion, but timber pickets follow the contours of the landscape better. That results in the higher aesthetic value of your property in Oklahoma.
Prepare for Building
Any modifications to your property require permission from the appropriate authorities. Check the laws and regulations of the state of Oklahoma well before you start your project. Be sure to do this if you are planning a high barrier. Some states and towns have laws on the maximum allowed height of fencing.
Mark the sides of your property. Determine where the gates will be. Draw a plan, because you may need it to get a permit. If you are buying a ready-made gate, consider the gate’s hardware because of the spacing and fencing layout.
Installation Guidelines
You can get the wooden posts, pickets, or panels in any lumberyard. Ask the workers to cut them the way you imagined. You must give them the exact dimensions. It may cost you a little more than if you bought ready-made posts. But that’s why you get something unique and customized to your landscape.
As for the tools, you don’t need professional equipment, but you might need some advanced tools. You will need a pneumatic nailer, which will significantly speed up your work; then, a drill, different bits, galvanized nails, and so on.
On the following page, check out the list of other tools required for fencing installation: https://www.homestratosphere.com/types-of-fence-building-tools/.
Get to Work
Use batter boards and strings to improvise posts’ layout. Put boards in all corners and connect them with a string at the height of one foot. That will help you line up the posts. Dig holes for the pillars and gate posts with a shovel. In some states, there are legal regulations around digging these holes. Place posts and fill them with a concrete mix, check the verticality with a plumb, and let it set.
Set rails on posts. Depending on the height of the fence, you will need two or three lines. The vertical distance between them must be equal. The tops of pickets should be at the same height. If the yard has slopes, use a string to make a line parallel to the top rail along which you will place the pickets.
Place the pickets for your wood fence at the distance you want. Be sure to attach the top of the post first, then the bottom. Start from one corner, and as you approach the other, adjust the spacing between the pickets. Even if you make a mistake, use a pneumatic nailer to remove the screws, and replace pickets.
After you have finished installing the fence, wait a while until you paint it. Raw timber needs time to dry before further processing. The lifespan of these fences is about 50 years, and with regular maintenance and protection, they can last even longer.


